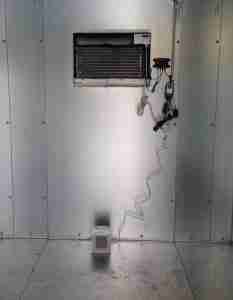
As the warm months fade away and the cold season moves in, a lot of our users wonder how to manage the cold temperatures in their coolers. This guide will help you learn how to set up your walk in cooler for winter.
When temperatures outside fall below the freezing point, temperatures inside the cooler can drop low as well. If freezing temperatures inside the cooler are a concern for you, there is an economical solution you can implement. The idea is to maintain the temperatures inside the cooler above freezing but below the set-point of the CoolBot. We can do this by connecting any small space heater of the CONVECTION type (NOT A RADIANT ONE) to a thermostat controlled extension cord.
Let’s take a look at our recommended controllers and how to set up the system to solve the winter problem.
Recommended Pass-through Thermostats:
- Inkbird ITC-308 Plug and Play Temperature Controller
- Farmtek Durostat Prewired Thermostat CR2045
Examples of Heaters:
- Lasko 754200 Ceramic Heater with Adjustable Thermostat
- Pelonis NT20-12D Ceramic Safety Furnace, 1500-watt, White
The following setup will keep your cooler above the freezing point during the colder months of the year, working between 32°F/0°C and your set temperature on the CoolBot. If you want to set up your cooler for different temperatures, please make sure that there is a difference of at least 4°F in between the set temperature of the INKBIRD and the set temperature of your CoolBot so they don’t overlap and work at the same time.
- Leave your A/C and your CoolBot set up as normal and plugged in.
- Plug in your INKBIRD Temperature controller.
- Your INKBIRD will come in Celsius from the factory. Follow the instructions in the INKBIRD manual to change it to the Fahrenheit scale if needed.
- Place the INKBIRD Temperature Sensor as close as you can to the CoolBot ROOM sensor. Give them a few minutes to adjust to the temperature.
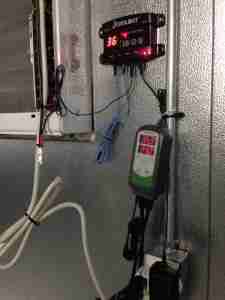
- If your INKBIRD Temperature display (the number at the top – labeled PV) is different from the one displaying on the CoolBot, adjust the Temperature Calibration (CA) of the INKBIRD sensor by following the instructions on the INKBIRD manual. The objective is to have both sensors reading almost the same temperature (within 1°F is ok).
- Adjust the Setting Value (SV) temperature on your INKBIRD to 34°F/1.1°C following the instructions in the INKBIRD manual.
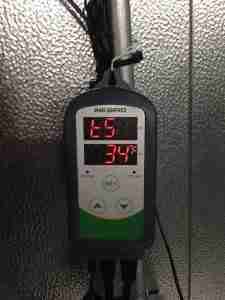
- Adjust the Heating Differential HD value on the INKBIRD to 2°F/1°C following the instructions on the INKBIRD manual.
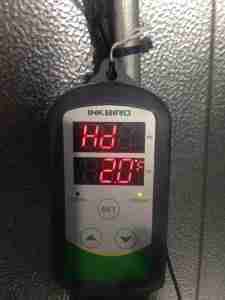
- If all settings are correct you should be reading on your INKBIRD:
- PV: A value within approximately 1°F degree of the CoolBot display
- SV: 34°F (if set to display in Fahrenheit scale)
- 2°F (if set to display in Fahrenheit scale) when pressing the UP arrow (heating differential set value)

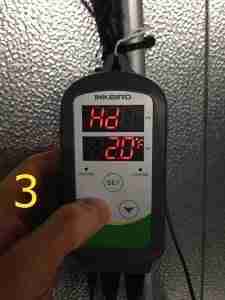
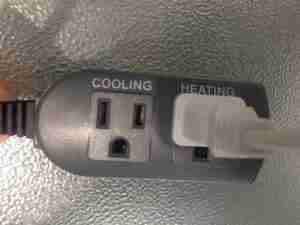
- Plug your heater in the receptacle labeled HEATING on the INKBIRD plug in cord.
DO NOT plug your CoolBot or your A/C in the socket labeled COOLING of the INKBIRD. Leave that one empty!
- Turn your heater ON and set the Heat level to Low.
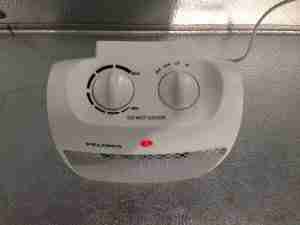
NOTE: Heaters are very efficient. A small heater can handle large rooms. As a general rule, you need a heater that has (Area X 10) in watts power. For example, a 100 sq ft room would require a 1000W heater. If your heater is a 1200W or a 1500W, run your heater on Medium or Low (DO NOT RUN ON HIGH as the InkBird cord won’t be able to handle the load of the Heater).
DONE! Check the system for operation to make sure it is performing as expected. Make the necessary adjustments if needed.